Fluffy Buttermilk-Free Cream Biscuits

These Cream Biscuits are a game-changer for anyone who loves light, tender, and buttery biscuits but doesn’t want the hassle of making traditional buttermilk dough. With just two ingredients—self-rising flour and heavy whipping cream—you can whip up these heavenly biscuits in no time. Perfect for breakfast, brunch, or as a side dish, these biscuits are simple, foolproof, and utterly delicious!
Prep Time
- 10 minutes
Cook Time
- 10–12 minutes
Total Time
- 20–22 minutes
Servings
- 8–10 biscuits
Ingredients
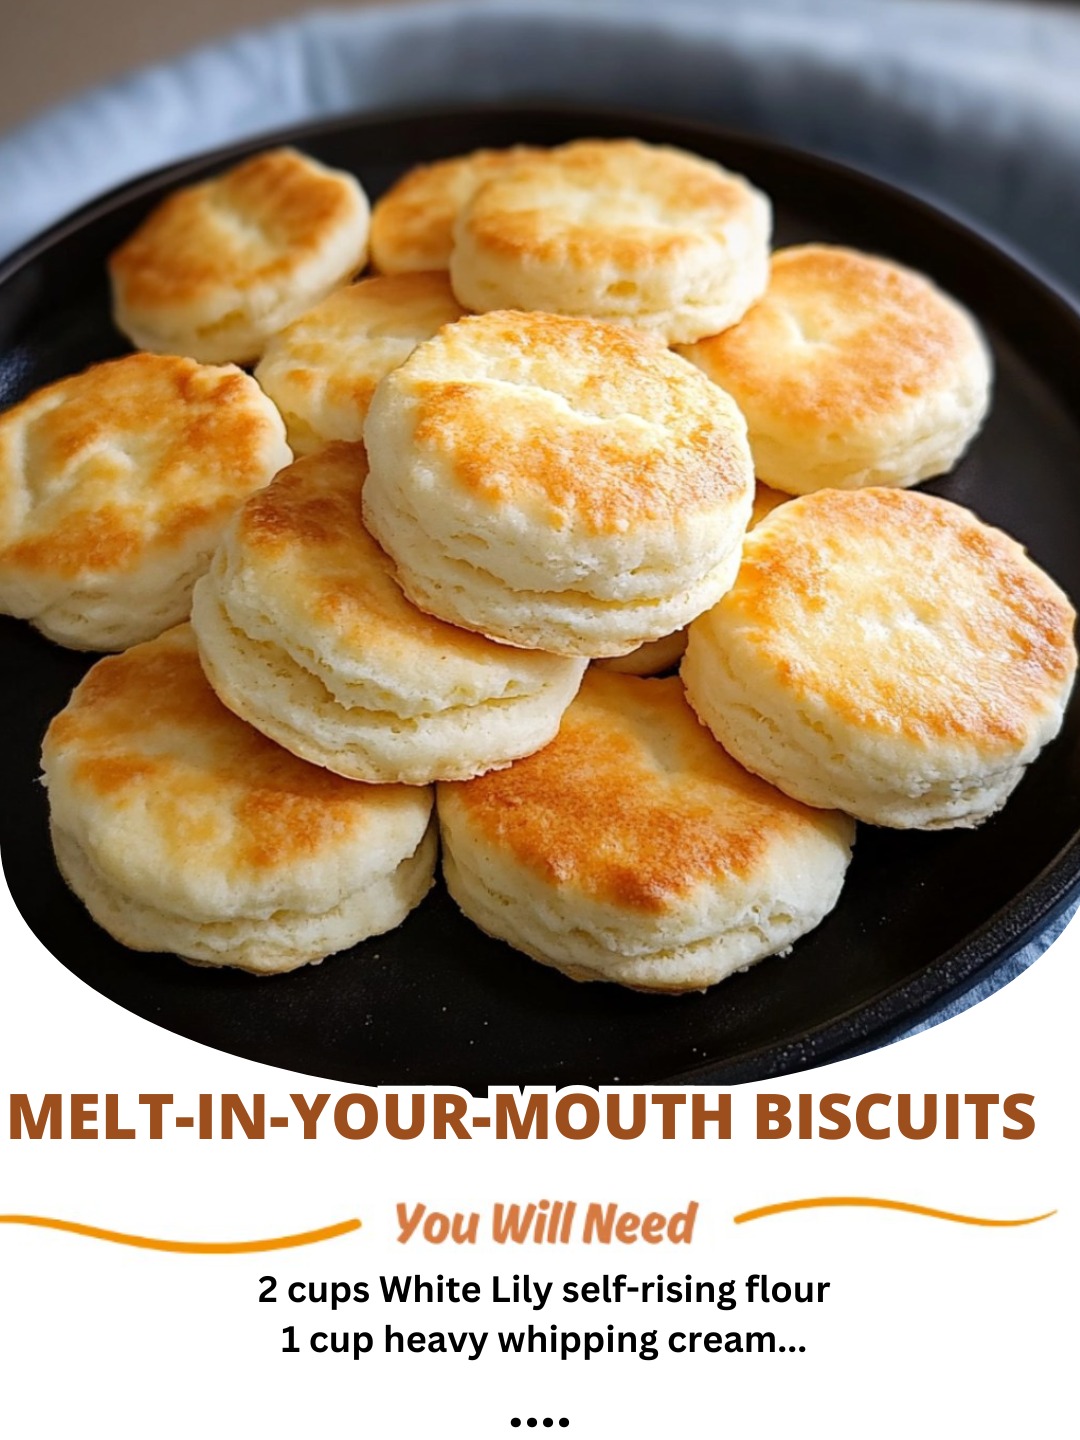
- 2 cups White Lily self-rising flour (or any high-quality self-rising flour)
- 1 cup heavy whipping cream
Optional:
- Melted butter (for brushing)
- Honey, jam, or gravy (for serving)
Instructions
Step 1: Preheat the Oven
- Preheat your oven to 500°F (260°C) . This high temperature ensures the biscuits bake quickly and develop a golden, crispy exterior while staying soft and fluffy inside.
Step 2: Mix the Dough
- In a large mixing bowl, combine the self-rising flour and heavy whipping cream. Stir gently with a wooden spoon or spatula until the dough just comes together. Be careful not to overmix—the dough should be shaggy and slightly sticky.
Step 3: Shape the Biscuits
- Turn the dough out onto a lightly floured surface. Gently pat it down into a rectangle or circle about ¾-inch thick. Avoid overworking the dough to keep the biscuits tender.
- Use a biscuit cutter or the rim of a glass to cut out rounds. Press straight down without twisting to ensure the biscuits rise evenly. Gather the scraps, pat them down again, and cut more biscuits until all the dough is used.
Step 4: Prep the Pan
- Butter a flat iron skillet, cast-iron pan, or baking sheet generously. Place the biscuit rounds close together in the pan for soft-sided biscuits or space them apart for crispier edges.
Step 5: Bake the Biscuits
- Bake in the preheated oven for 10–12 minutes , or until the tops are golden brown and the biscuits have risen beautifully. Keep an eye on them during the last few minutes to avoid overbaking.
Step 6: Finish with Butter
- As soon as the biscuits come out of the oven, brush the tops generously with melted butter for that extra buttery goodness.
Step 7: Serve & Enjoy
- Serve the biscuits warm with your favorite toppings—honey, jam, butter, or even sausage gravy. These biscuits are perfect for breakfast sandwiches, sopping up soup, or simply enjoying on their own.
Pro Tips
- Flour Matters: White Lily flour is ideal because it’s made from soft wheat, which has less protein and makes the biscuits lighter. If you can’t find it, use another high-quality self-rising flour.
- Don’t Overwork the Dough: Handle the dough as little as possible to prevent gluten development, which can make the biscuits tough.
- Storage: Store leftover biscuits in an airtight container at room temperature for up to 2 days . Reheat in the oven or toaster oven for best results.
Nutrition Facts (Per Biscuit, based on 10 servings)
- Calories: 200
- Protein: 3g
- Carbohydrates: 20g
- Fat: 12g
- Fiber: 0g
- Sugar: 1g
Note: Nutrition values are approximate and may vary based on specific ingredients used.
Why You’ll Love This Recipe
These Cream Biscuits are simplicity at its finest. With only two ingredients and minimal effort, you can achieve bakery-quality biscuits with a tender crumb and buttery flavor. Their versatility makes them perfect for any meal—pair them with savory dishes or sweet spreads for a comforting treat.
Ready to fall in love with the easiest biscuit recipe ever? Grab your flour and cream, and get ready to enjoy fluffy, buttery perfection in every bite!